Advanced Analysis
The Advanced Analysis feature of the Discrepancy Tracker was designed to simplify processes by allowing you update inventory and correct errors right from the Discrepancy Tracker. Advanced Analysis compares current Cimpl inventory data with provider invoices to make sure all services, accounts and charges align properly . This provides an immediate analysis of any errors in Cimpl which helps you determine the cause and solution to any issue. By using Advanced Analysis you can ensure that your inventory, services, and accounts are up to date and accurate.
Open Advanced Analysis:
- Go to Billings Center> Discrepancy Tracker.
- Select the Advanced Analysis tab.
-
Select a Provider.
Note: Providers must have their Advanced Analysis permission configured by Cimpl. To set up this permission contact cimpl-support@uplandsoftware.com. Without this permission configured, Advanced Analysis is unavailable.
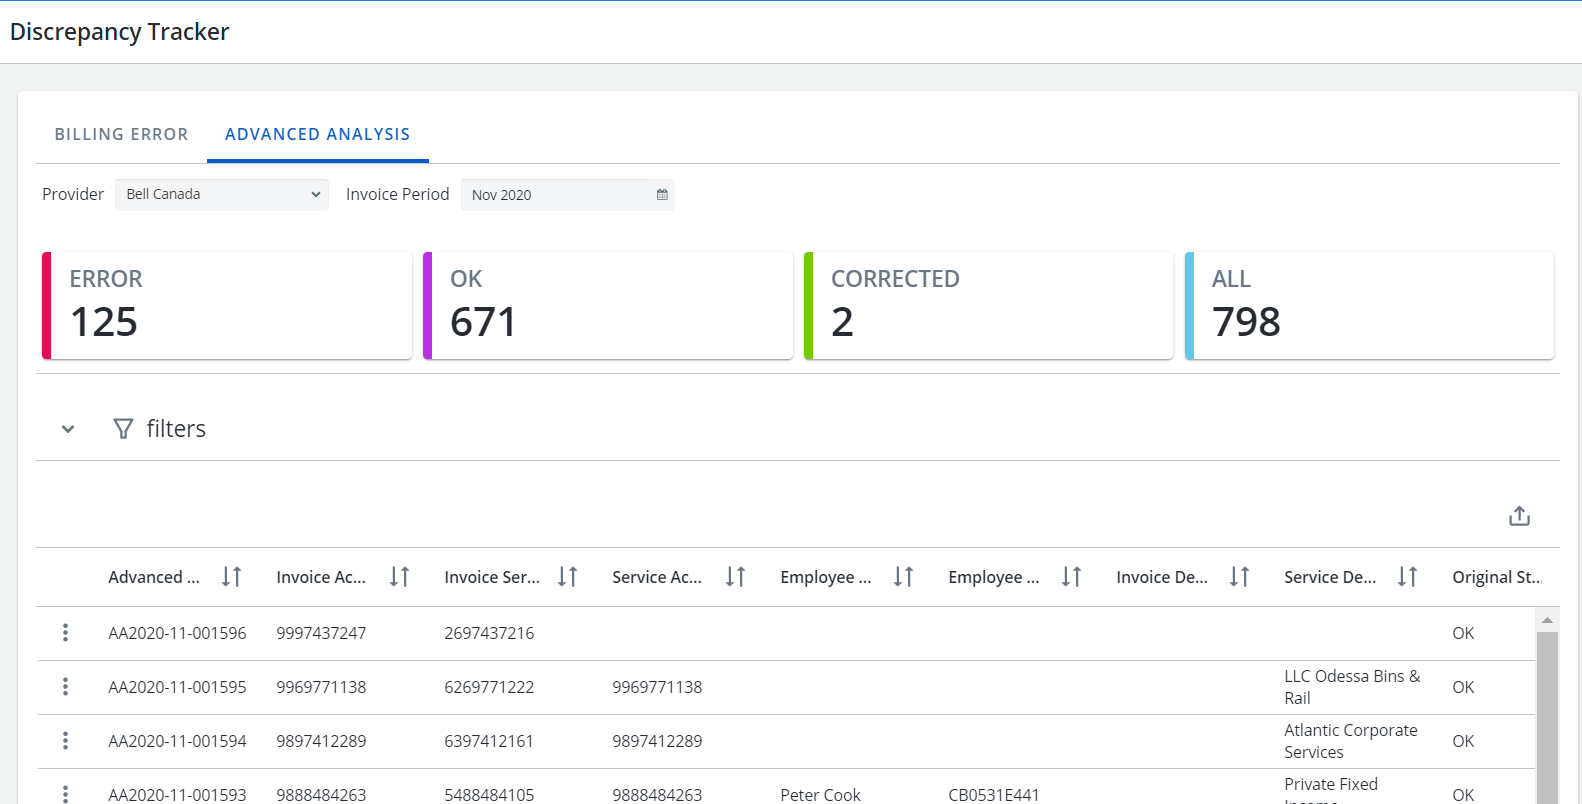
Example of the Advanced Analysis page. Click to enlarge.
Status & Action
Advanced Analysis flags any errors and depending on the status or error type, you are able perform certain actions to correct or ignore the errors.
| Error or Warning | Available Actions |
|---|---|
| All Statuses | |
| Account closed for more than 3 months |
|
| Account Deactivated |
|
| Account closed less than 3 months |
|
| Corrected | |
| Invalid Cost Center | |
| Missing Account | |
| Missing Account & Service | |
| Missing Cost Center at service & account level | |
| Missing Service | |
| Not fixed but Pay anyway | |
| Not Paid | |
| OK | |
| Service Account Mismatch |
|
| Service disconnected less than 3 months ago |
|
| Service disconnected more than 3 months ago |
|
The Advanced Analysis grid
You can rearrange and select the grid columns for the Advanced Analysis grid, see Modify grid columns .
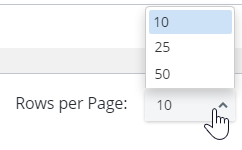
The grid view displays 10, 25, 50 entries per page. By default, 10 entries are shown. You can select a different number of entries to be viewed and Cimpl bookmarks this preference.
Filter and Search
In Advanced Analysis, there are error or warning count cards at the top of the screen. Click on each of these cards to automatically apply a filter and show all records that relate to that warning or error.
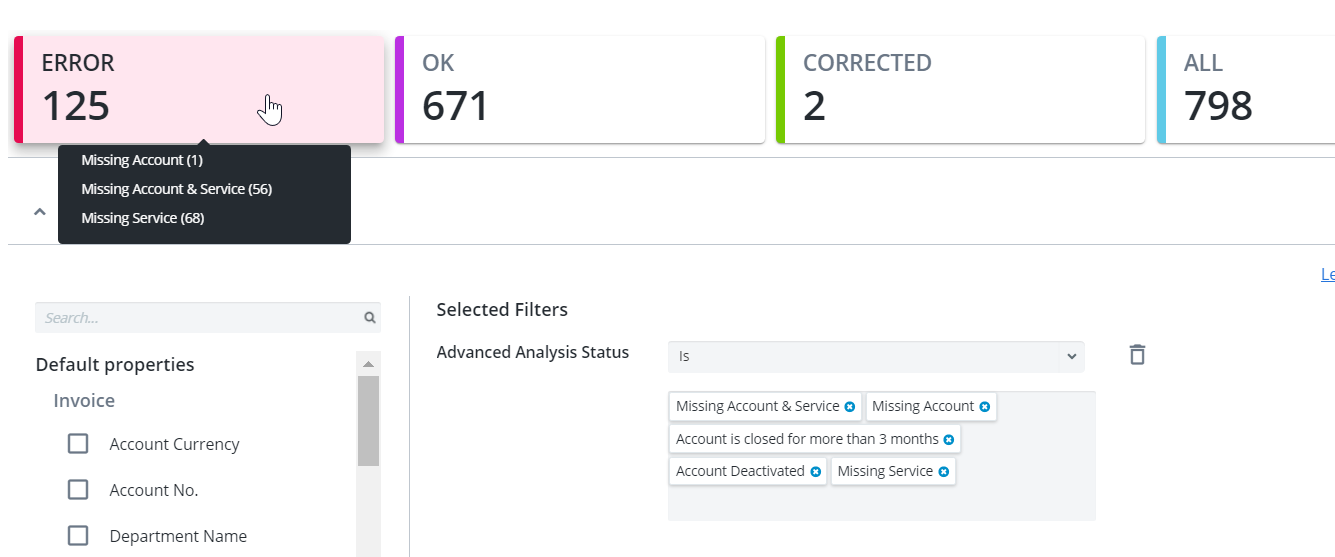
Example of the Error card filter. click to enlarge.
You can also perform a custom search and apply filters.
-
Expand the Filters section.

-
Select a filter. The filter appears under Selected Filters.
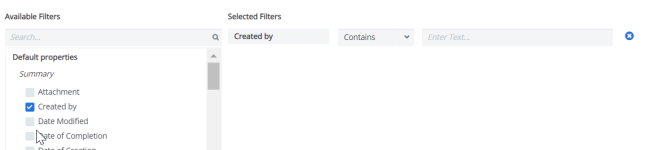
-
Select the filter operator.
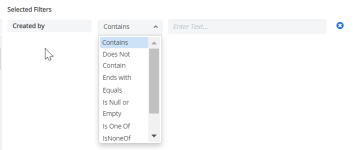
- Enter filter values.
-
Repeat steps 2-4 for all selected filters.
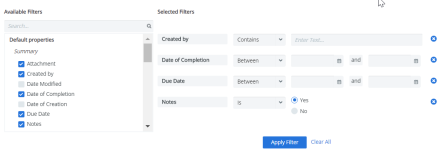
-
Click Apply Filter. The Filter icon appears blue once the filters are applied.


Deselect any filters:
- Click the X to the right of the filter and then click Apply Filter.
Remove all filters:
- Click Clear All and then Apply Filter.
Note: The filters that you've selected will remain applied, even if you log out of Cimpl. The filters are bookmarked and will only change if you click Clear All or after you set new filters and click Apply Filter.